This past 4th of July weekend, Kevin, Maggie Mae, and I decided to make a last minute trip to hike the Jordan River Pathway. Slowly but surely we are attempting to hike all of the beautiful trails of Michigan. The Jordan River Pathway was gorgeous, just as all of the trails we have done so far in Michigan, but also challenging.
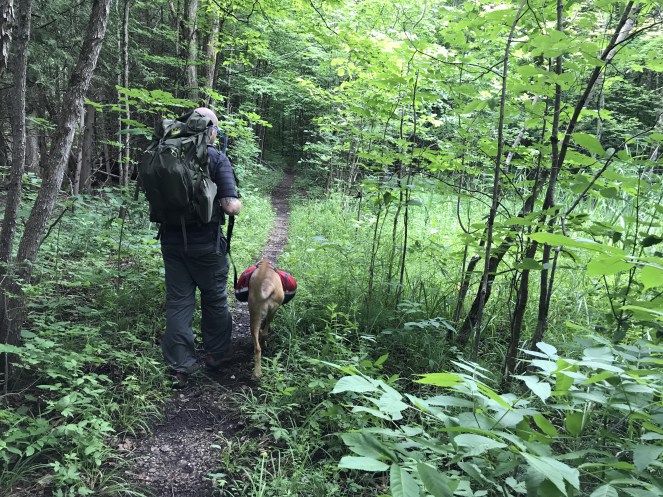
To us, it wasn’t challenging because of the trail terrain itself, but rather the distance per day. We’ve done a few backpacking trips in the past and I would consider us more on the intermediate side between beginner and intermediate level hikers. However, we don’t hike often enough to comfortably put that kind of distance behind us in just two days, what with work and life happening on a regular basis.
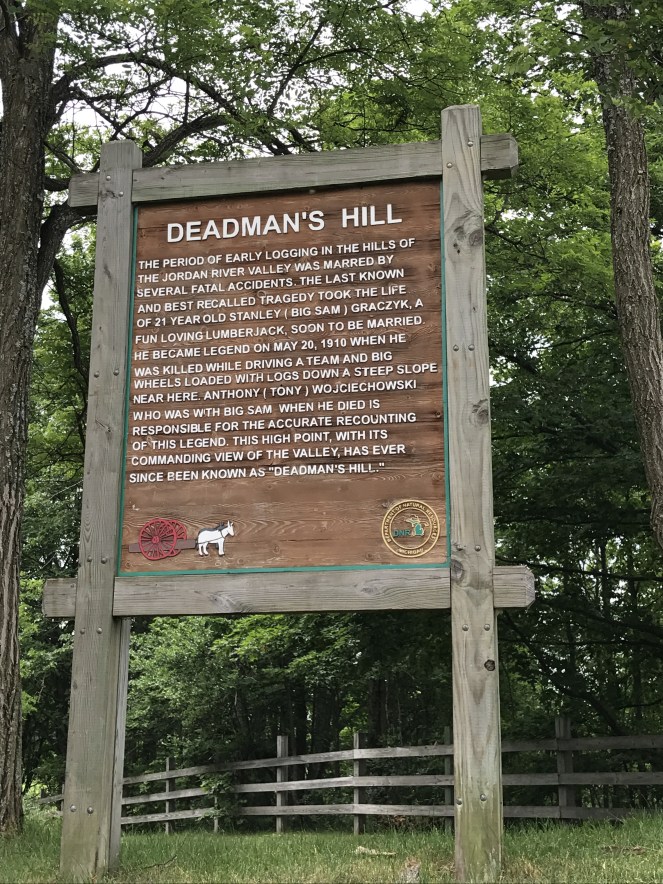
The Jordan River Pathway loop is 18 miles in total (although I believe now with the re-route around a swampy area it is more like 19 or 20 miles) and includes a portion of the North Country Trail for most of it. Many hikers start at Deadman’s Hill Trailhead and hike about 9.5 miles the first day going counterclockwise. On the second day they hike from Pinney Bridge walk-in campground back to Deadman’s Hill which is around 10 miles.
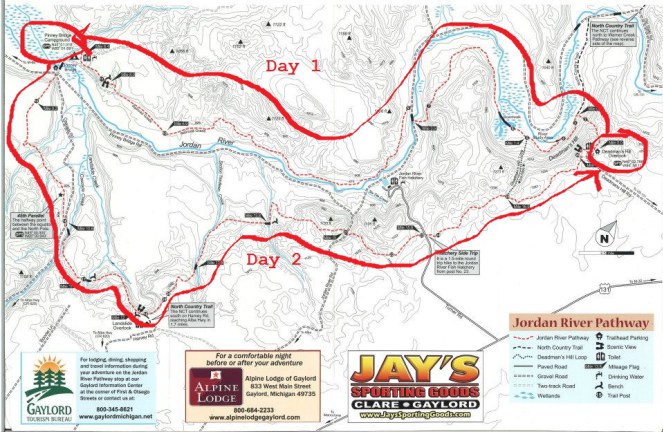
There is the option of doing this trail in the other direction—clockwise instead. I would actually rather do it that way if we ever did it again. That way you are doing the most scenic parts when you are still fresh and the longer leg of the journey is out of the way on the first day. Most people don’t do it that way and I’m not sure why. Maybe it is against trail etiquette to be going the opposite direction as everyone else?
Unless you’re able to hike more often and have a body that is conditioned for it, I don’t think 10 miles a day is a really enjoyable hike. There’s not enough time to enjoy the scenery, take breaks, and get the most out of nature. I run long distances during the week, so I’m in shape, but hiking a trail is a different type of movement. The trail is relatively easy and flat, especially compared to Pictured Rocks if you’ve ever tackled that area in the past, so don’t worry too much about that; but ideally I would like to see this trail split into three days instead of two—then you’d also have the time and energy for the diversion to the Fish Hatchery on the last day.
Unfortunately I didn’t have the foresight to take a picture of our campsite, but you can get a great idea of what the sites and campground area look like in this YouTube video from fall 2015: https://www.youtube.com/watch?v=YRx8OzrD4Xs
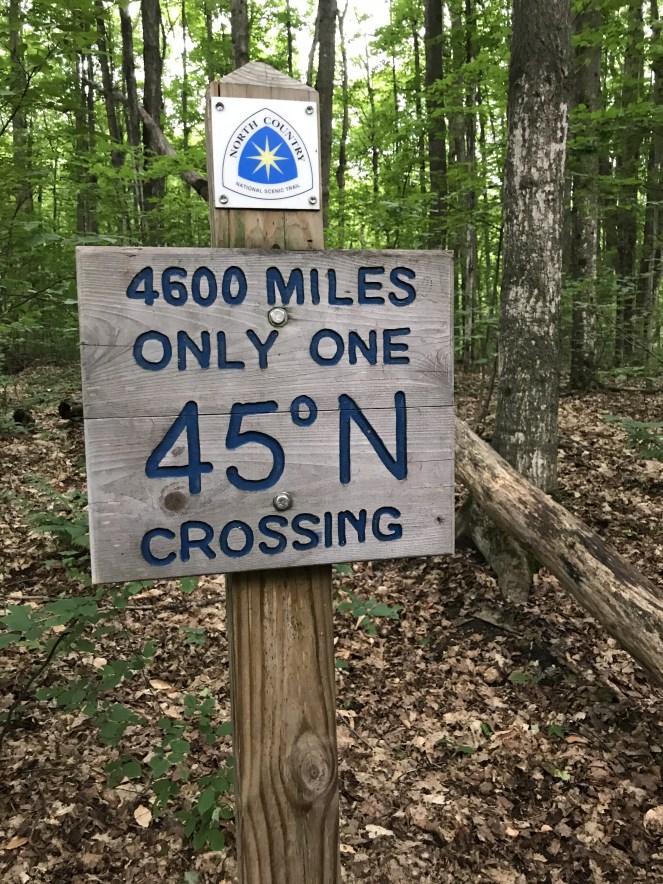
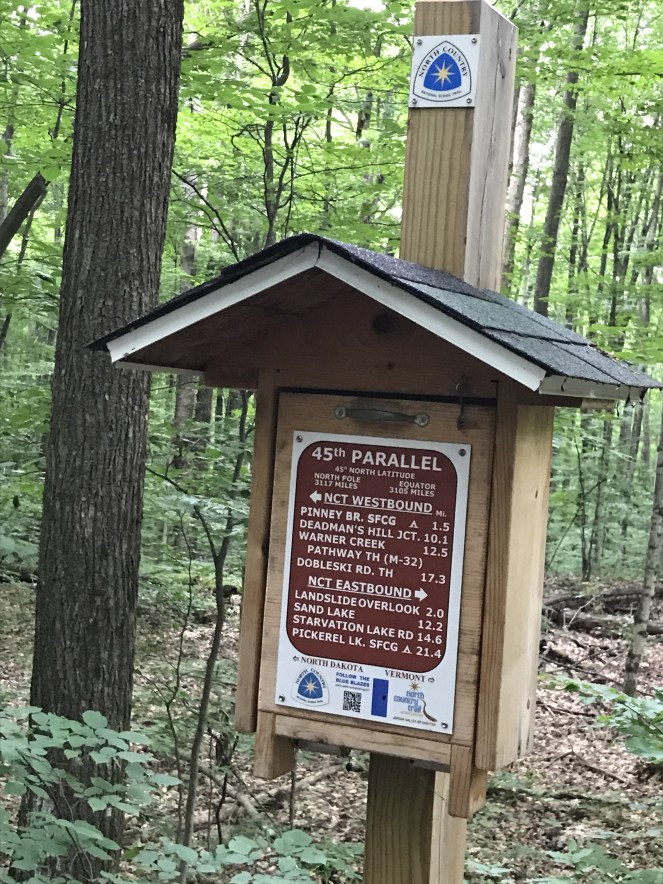
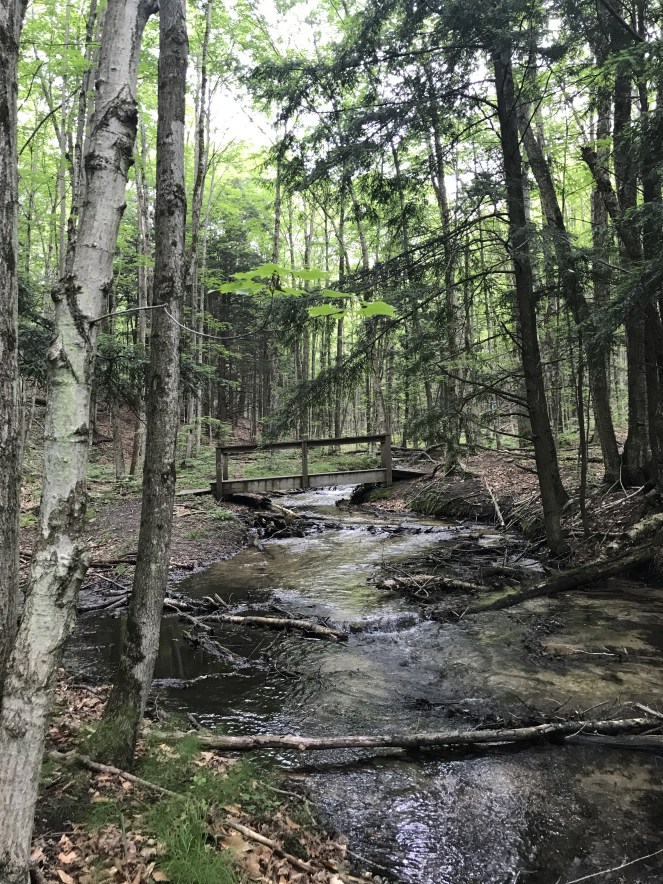
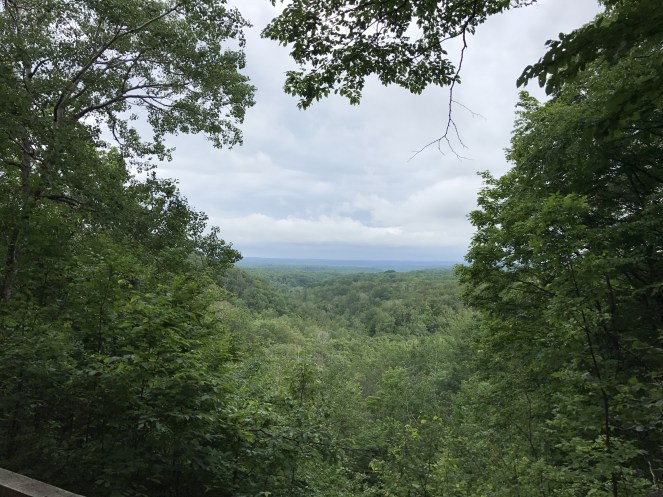
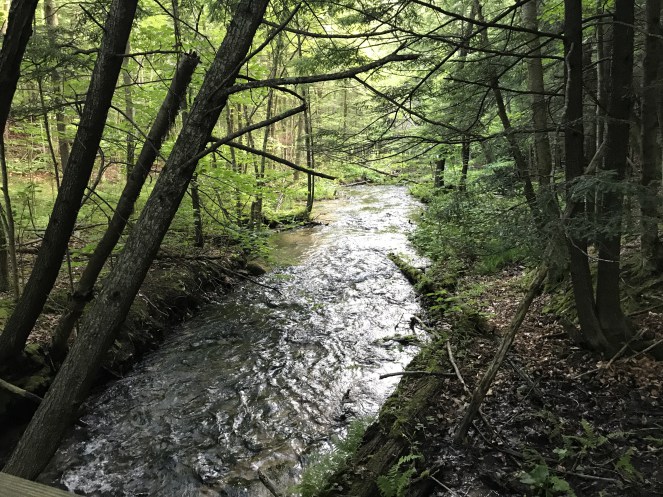
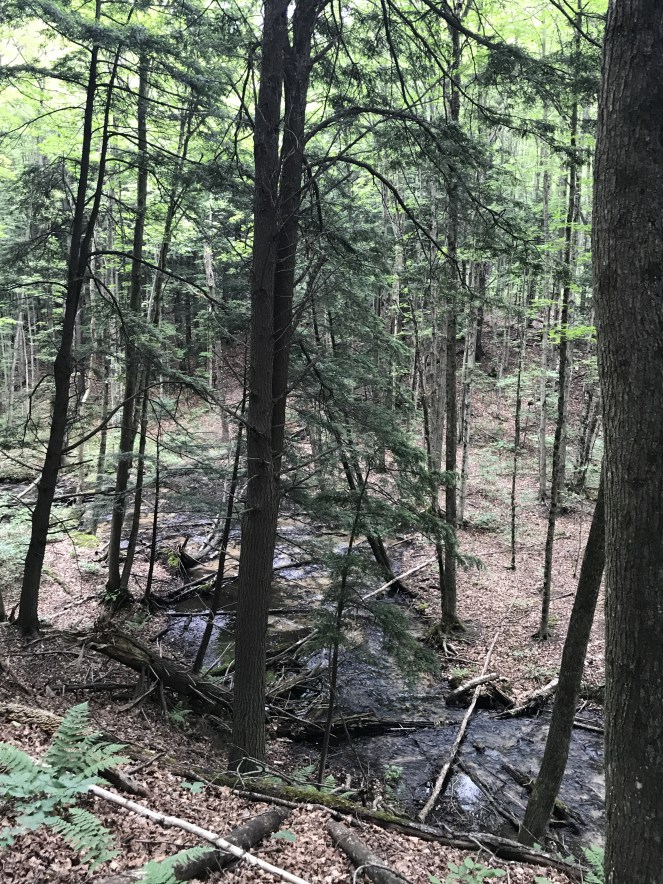
Camping is not allowed except for in Pinney Bridge Campground, so splitting it into three days is not a possibility at this time. That would be my only gripe about this trail. Despite this, the experience was totally worth it. Even though both of our feet were in pain (and Maggie’s paws too), day two was really something special. Not only did we get to cross the 45 degrees North latitude line, but there were picture-perfect creeks and rivers all along the way, and the view at the end of the trail just before we got to the car was breathtaking.
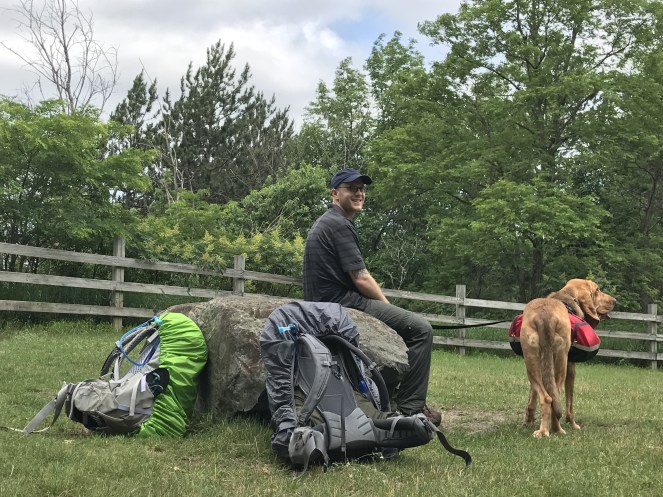
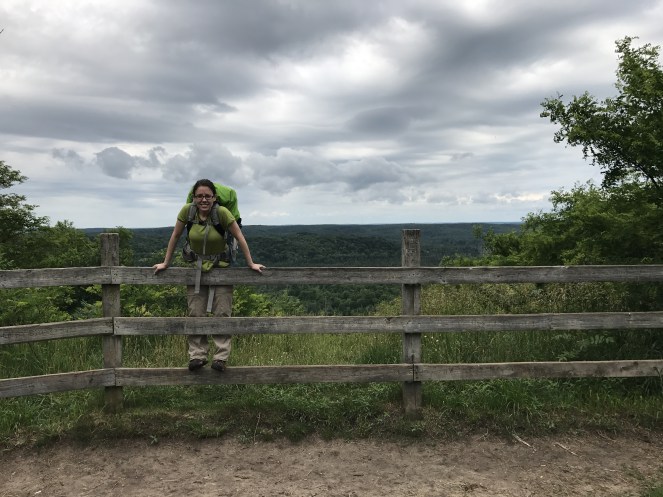
TIP: Do not look at Deadman’s Hill Overlook prior to starting your hike. It was a wonderful surprise and gift for us to lay eyes on it after all the work we put in. It’s located right next to the parking area near Deadman’s Hill Trailhead, but when we arrived to start our hike, we weren’t even aware it was there, so we missed the overlook completely. When we finished our hike and emerged on Deadman’s Hill, we were somewhat confused and thought maybe we had hiked to the wrong place because nothing looked familiar. I’m glad for out ignorance though because taking off my backpack and laying on that hill completely exhausted with that breathtaking view beside me is one of the most memorable moments of the trip.
LOGISTICS: Because we were hiking the trail on 4th of July weekend, we thought it would be very busy. Pinney Bridge Campground is first come first serve, so we were worried that we would risk hiking all that way and there not being a campsite available for us. A friend of mine had recently done this same hike so I asked her what we would do if that were the case. She informed me that there is actually a small parking lot probably about a half mile from the campground that we could drive to, set our tent up on a site in the morning, then drive to Deadman’s Hill to start the hike. This worked out great because we didn’t have to worry about not having a place to sleep and we also didn’t have to carry our tent or sleeping bags!
We were worrying for nothing though, because when we got there, there were plenty of campsites. I wouldn’t worry about setting your tent up before your hike unless your goal is to lighten your load. Other than that, I think it’s safe to say that if the campground wasn’t full on 4th of July, you won’t have any problem getting one of the 15 sites during any other time of year.
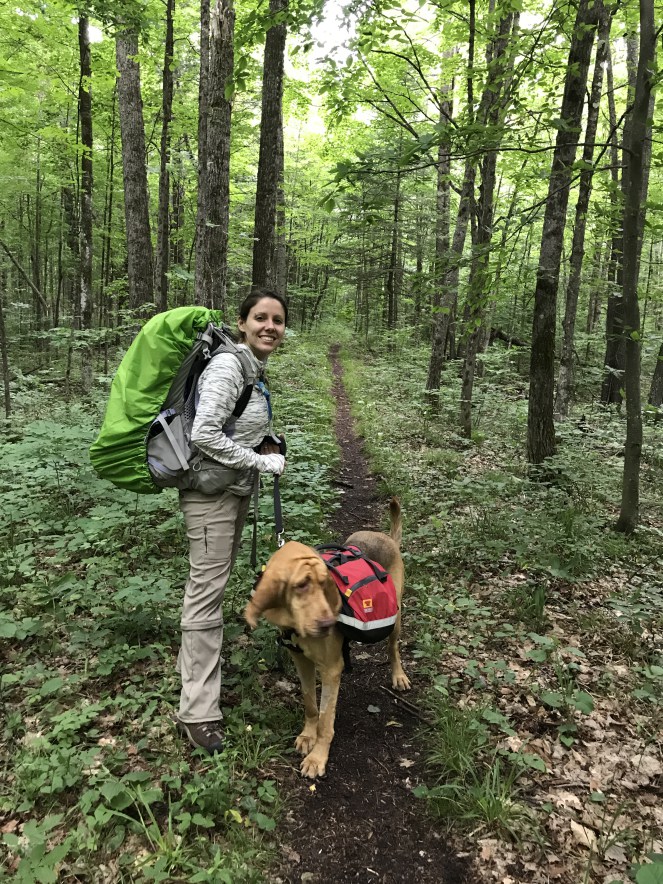
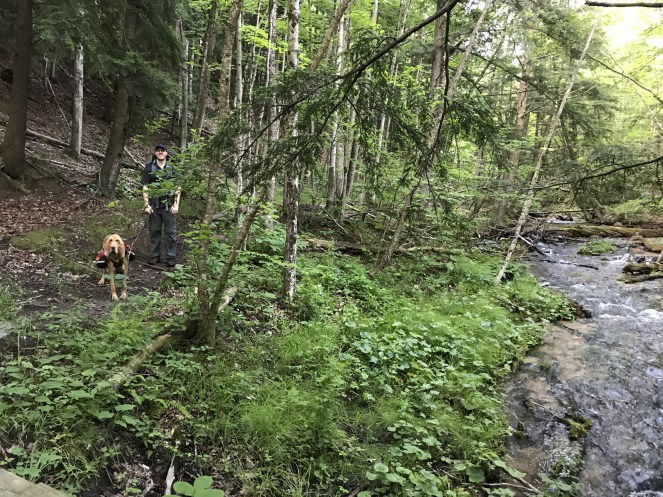
There is also plenty of water on this trail, so you don’t need to worry too much. There are countless rivers and creeks and there is a pump at Pinney Bridge with drinking water that doesn’t need to be purified. The bathrooms even had hand sanitizer! This was one of the more luxurious hiking latrine experiences I’ve had…
TIP: If you normally bring a lightweight chair for sitting by the fire with you when you hike, no need here! There are picnic tables and huge fire rings at each campsite. Because of all of the amenities here, it really is possible to do this two day hike with very little weight on your back. I would recommend a little camp saw for getting firewood. It was very difficult to keep the fire burning with all of the damp and rotten wood around.
Don’t forget to bring cash to pay for your site. The cost to stay is $13 per night as well as the Recreation Passport for your vehicle if you don’t already have one. We completely forgot about this and will probably be getting a bill in the mail for it. It is $11 for Michigan residents or $9 for a non-resident daily pass.
The way it works is there are envelopes at the bulletin board in the common area of Pinney Bridge that you will need to fill out with information such as license plate number (don’t forget to have this on hand), name, whether or not you already have the Recreation Passport, etc. Then you put your cash or check in the envelope and attach the perforated square on the post near your campsite–basically showing that you paid and how long you’re staying.
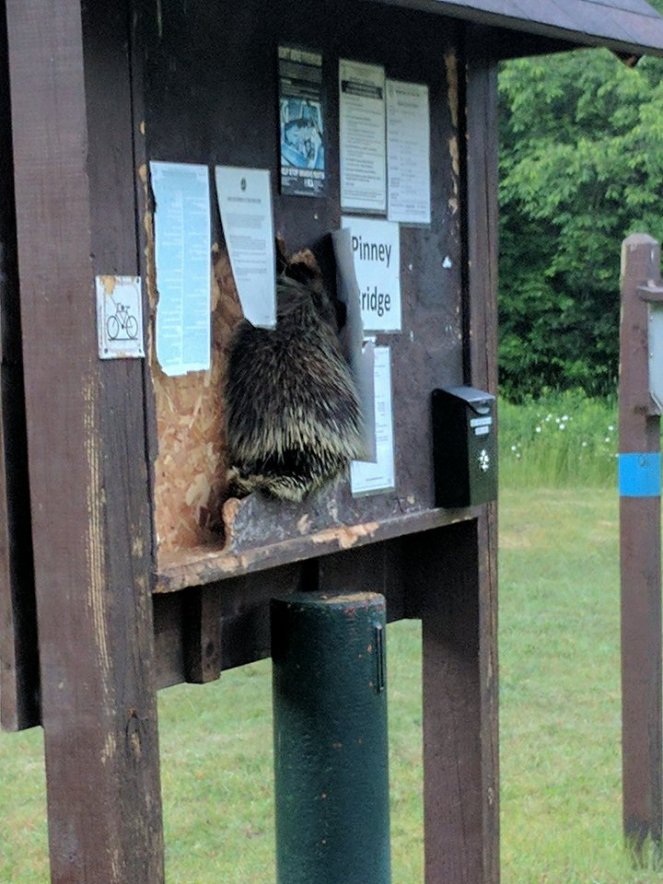
A LITTLE SIDE NOTE: Hopefully the bulletin board is still there when you go! After our night camping, we were awaken at 5am by an extremely loud sawing noise that went on for a couple of hours. I was wondering why someone would be so rude as to wake everyone up sawing wood that early in the morning. However, I discovered on a trip to the toilet that it was a porcupine eating the wooden sign next to where you put your money envelopes! This is probably the extent of the wildlife we saw during this trip.
And my last general hiking trip that is not really related to the Jordan River Pathway in particular is don’t forget to clip your toenails! There is nothing worse than bruised big toes for the next few months after your hike because your toenails were pushing up against your boots for 20 miles. It is the most painful thing…
I hope this helps you with planning your own personal hiking weekend to the Jordan River Pathway. I thought this post might prove pretty valuable, seeing as when I was researching this trail, there really isn’t much information on it out there. Feel free to comment with any particular questions you may have.
Next up, Porcupine Mountains!
CAITLYN WITHOUT A COMPASS


Leave a Reply